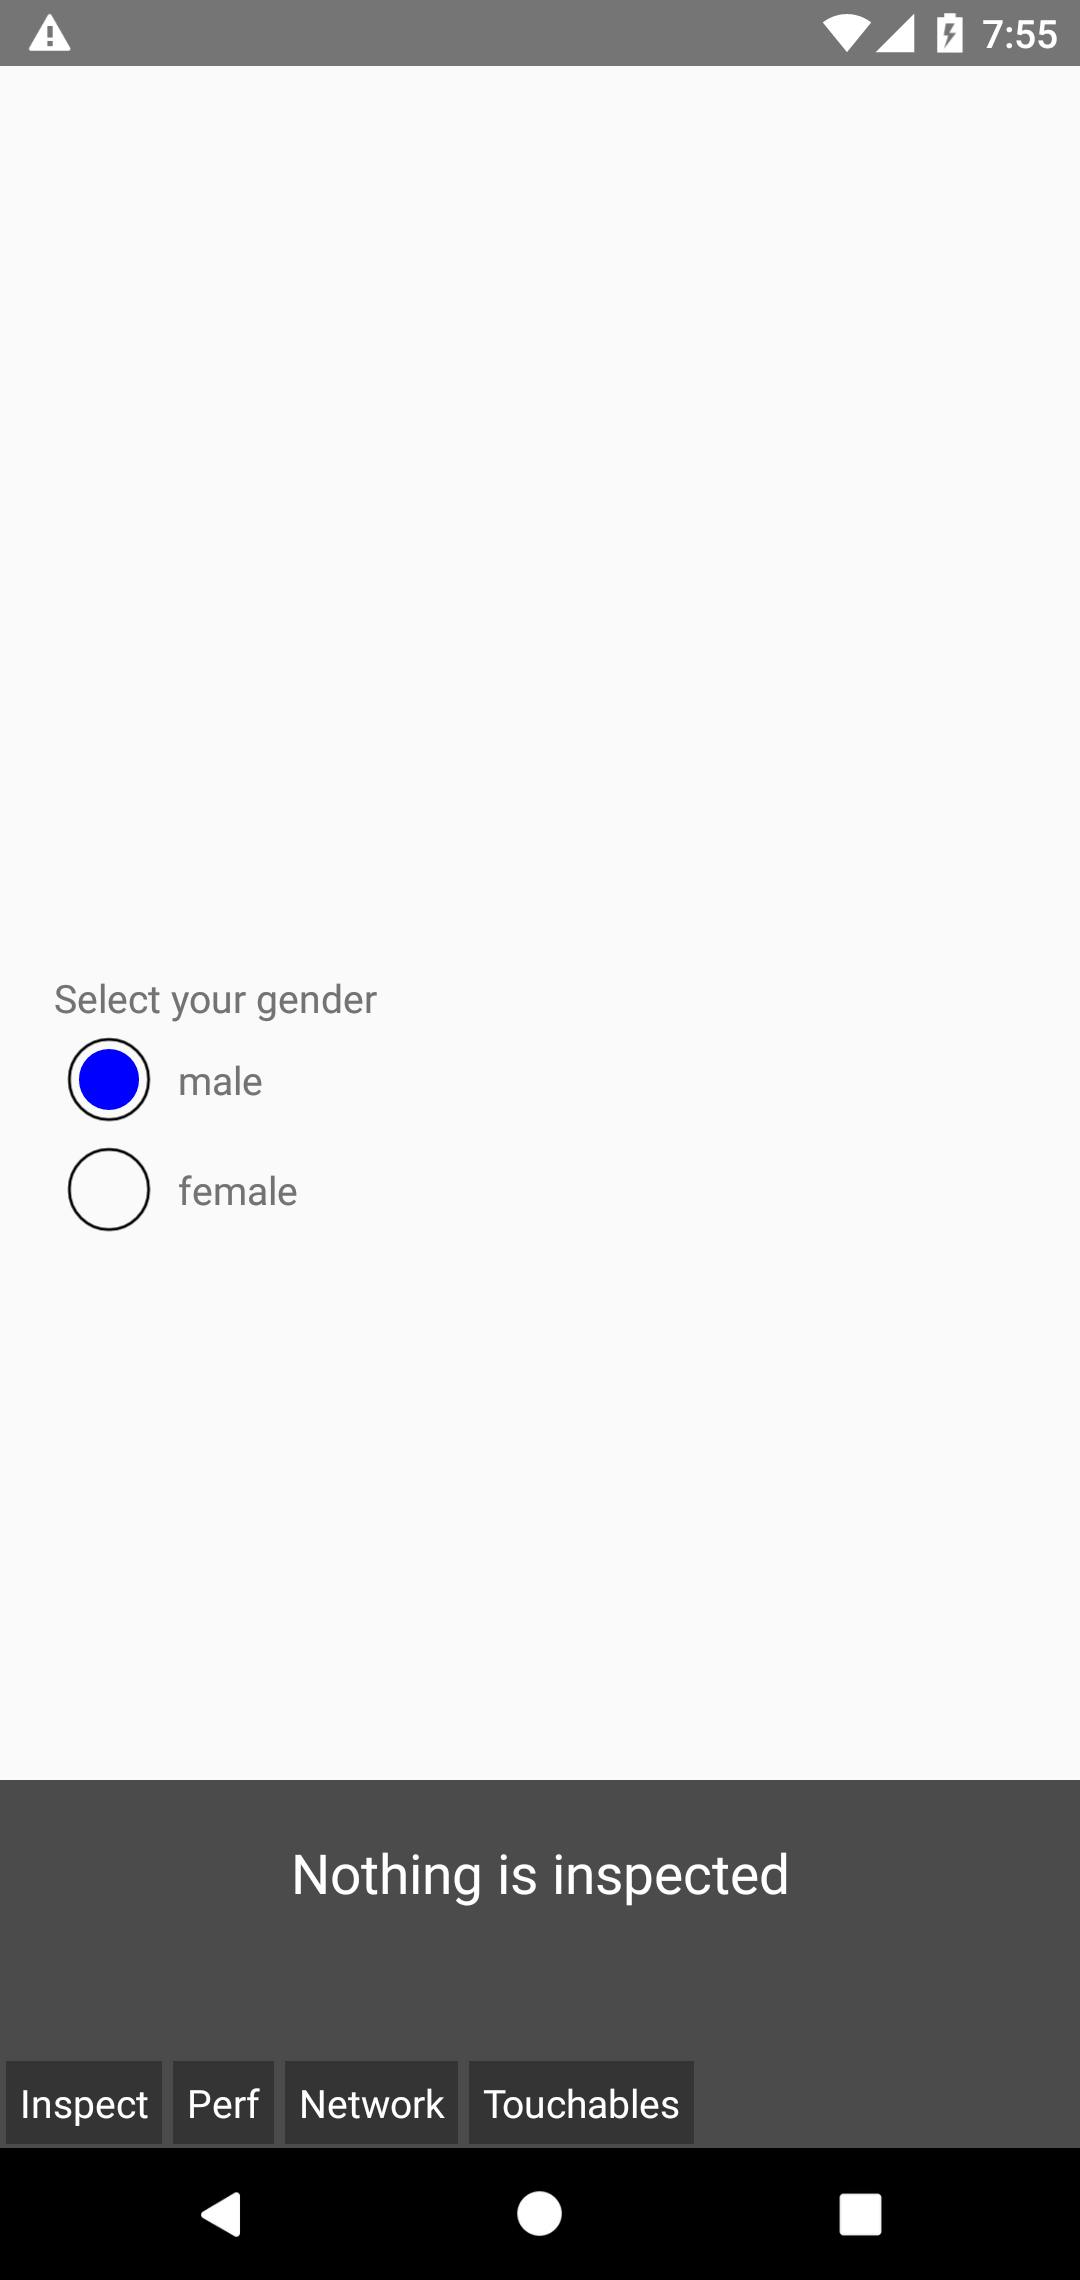
In this blog, I will demonstrate how you can use the radio button inside your react-native app.
Table of Contents:
Introduction
Use cases
Problem
Number of ways to implementation
Implementation code
Conclusion
👉Introduction
In a case where we need to provide some options and want users can select a particular option(user can select only one option) from the multiple options that are called the radio button or option button.
A radio button is a group of buttons where only one button can be selected at the same time.
👉Use cases
In every app, there is always a use case for the radio button one of the simplest examples is while creating a user in an app and needing to know the gender of the user there is a high chance developer uses the radio button because there are only 3 outcomes (male, female, other) so why any developer chose textInput from react-native.
another example is a quiz app or MCQ(multiple choice question) app where users get multiple options and there is only one option that is correct for that question.
so there are many use cases for that which make the app user-friendly as well as developer friendly.
🤔Problem
The major problem for developers who came from Reactjs is that when developers use Reactjs for creating web applications they can use the radio button without any third-party npm packages because in react we can directly use the HTML input tag with the type attribute "radio" (<input type="radio">) to make a group the name attribute will be same(name="gender").
In react-native, unlike React.js there is no inbuilt option to create a radio button in react-native.
🦾Number of ways to implementations
There are two ways to implement a radio button in react-native are:
By using a third-party npm package
By code from scratch
yes, there are so many npm packages available that you can use to implement radio button some famous packages are:
But in this blog how you can write code from scratch we will see npm package methods in the upcoming blog or you can directly use this npm package which mentions above.
💻Implementation code
import {StyleSheet, Text, TouchableOpacity, View} from 'react-native';
import React, {useState} from 'react';

const RadioButtonDemo = () => {
  const [selected, setSelected] = useState('');
  const options = ['male', 'female'];
  return (
    <View style={styles.container}>
      <View style={styles.questionContainer}>
        <Text>Select your gender</Text>
        {options.map(option => {
          return (
            <TouchableOpacity
              key={option}
              style={styles.singleOptionContainer}
              onPress={() => setSelected(option)}>
              <View style={styles.outerCircle}>
                {selected === option ? (
                  <View style={styles.innerCircle} />
                ) : null}
              </View>
              <Text>{option}</Text>
            </TouchableOpacity>
          );
        })}
      </View>
    </View>
  );
};

export default RadioButtonDemo;

const styles = StyleSheet.create({
  container: {
    width: '100%',
    justifyContent: 'center',
    alignItems: 'center',
  },
  questionContainer: {
    width: '90%',
  },
  singleOptionContainer: {
    flexDirection: 'row',
    alignItems: 'center',
    columnGap: 10,
    margin: 5,
  },
  outerCircle: {
    width: 30,
    height: 30,
    borderRadius: 15,
    borderWidth: 1,
    justifyContent: 'center',
    alignItems: 'center',
  },
  innerCircle: {
    width: 22,
    height: 22,
    borderRadius: 11,
    backgroundColor: 'blue',
  },
});

now any developer can change the design of the radio button when we create any component with Scratch.🎉
👀Conclusion
As we discussed early there are two ways one with npm package and another code from scratch both ways are good If developers want some simple design or they want for their personal project they can use the Npm package for that but If have some customs design then they should consider to create by themself because it gives so much flexibility to the developer.
for more, you can follow me on Hashnode as well as Linkedin.
